We’ve got some good news if you’ve always wanted to build your own deck but were hesitant to take on such a sizable, challenging construction project. We asked general contractor Tom Silva of This Old House to demonstrate how to construct a small, straightforward on-grade deck. You only need some basic carpentry tools and the desire to put in a little sweat equity to build a deck yourself
If you’re considering embarking on the journey of constructing a deck at your residence, enlisting the expertise of a professional deck builder in Annapolis MD can make a significant difference. Collaborating with a skilled deck builder ensures that your project is guided by local knowledge and adherence to regional building codes.
A reputable Deck Builder in Annapolis, MD can offer valuable insights during the planning and design phase, helping you choose the right materials and layout for your specific needs. Their experience in navigating the unique considerations of the Annapolis area, such as climate and terrain, contributes to a deck that not only enhances your home but also withstands the local environmental factors. From securing the necessary permits to the meticulous construction process, a trusted deck builder in Annapolis, MD can transform your vision into a well-crafted reality, providing a functional and aesthetically pleasing outdoor space for you to enjoy for years to come.
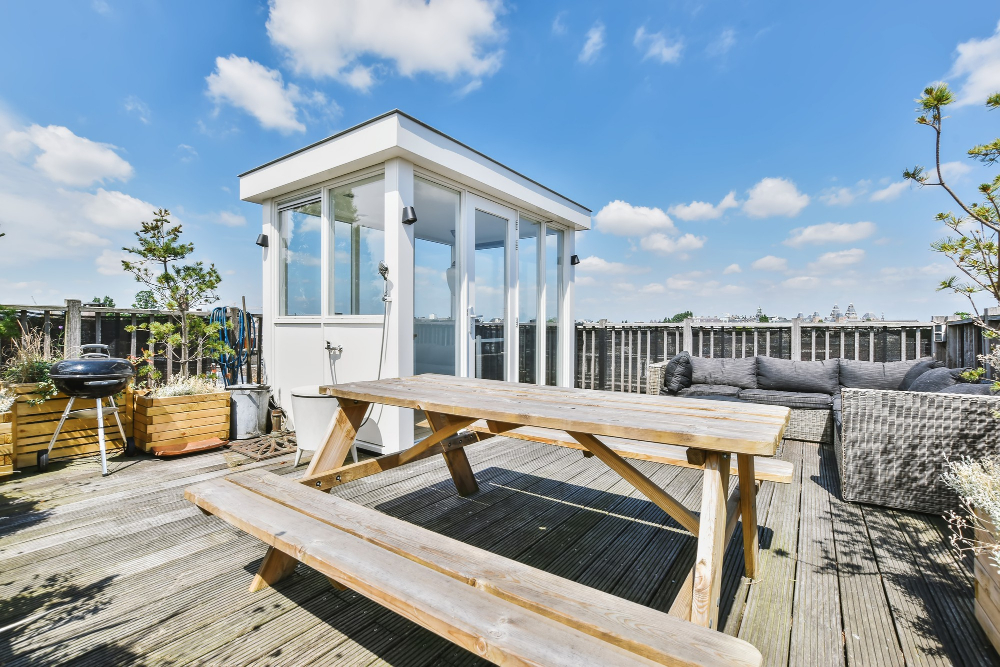
Building a Simple Deck
The deck displayed here has a pressure-treated floor frame that is held up by concrete piers, a ledger board, and 5/4-inch decking. Additionally, since the deck is only one step high, there was no need for a railing. Simply implement Tom’s advice to create your own backyard oasis. It’s an excellent way to enrage your neighbours.
A deck that is constructed on grade, or just above the ground, doesn’t need posts, steps, or railings. However, it has the same piers, joists, beams, and ledgers as any other deck. Choosing the sizes of the framing components is the first step in building one.
Tom Silva follows these general guidelines: the nominal width of the boards (in inches) for rim joists or beams made of doubled-up 2x lumber should match the span (in feet). So two 2x10s are needed to build a rim joist that is 10 feet long. A single board with the same width serves as the ledger’s construction. Tom divides the span in half for interior joists before adding two; for example, an 8-foot joist requires a 2×6. Rounding up odd numbers or fractions to the next even number is always appropriate.
Remove the trim and siding from the building up to 1 foot above the top of the ledger. Cover the exposed sheathing with a waterproof membrane that adheres to itself.
Mark the exact location of the ledger’s top. (Any step down to the finish decking, which sits atop the ledger, must be 4 to 734 inches below the door sill, according to code.) Draw a straight chalk line.
For every 2 feet of ledger length, cut a 2-inch-wide, 112-inch-thick treated wood spacer. Using a 6d nail, align the top of each spacer with the chalk line.
Align the ledger with the tops of the spacers and nail it to the wall with a 16d nail at each spacer. Joints between ledger boards should be aligned.